
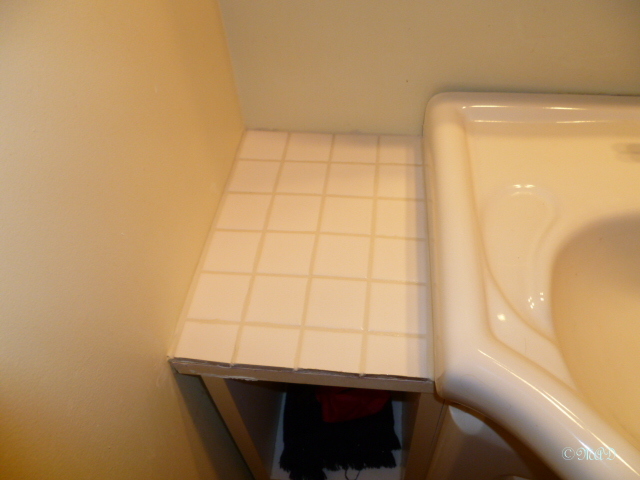
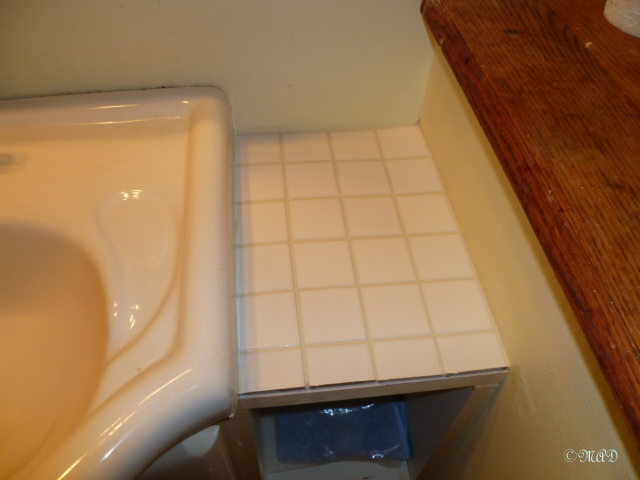
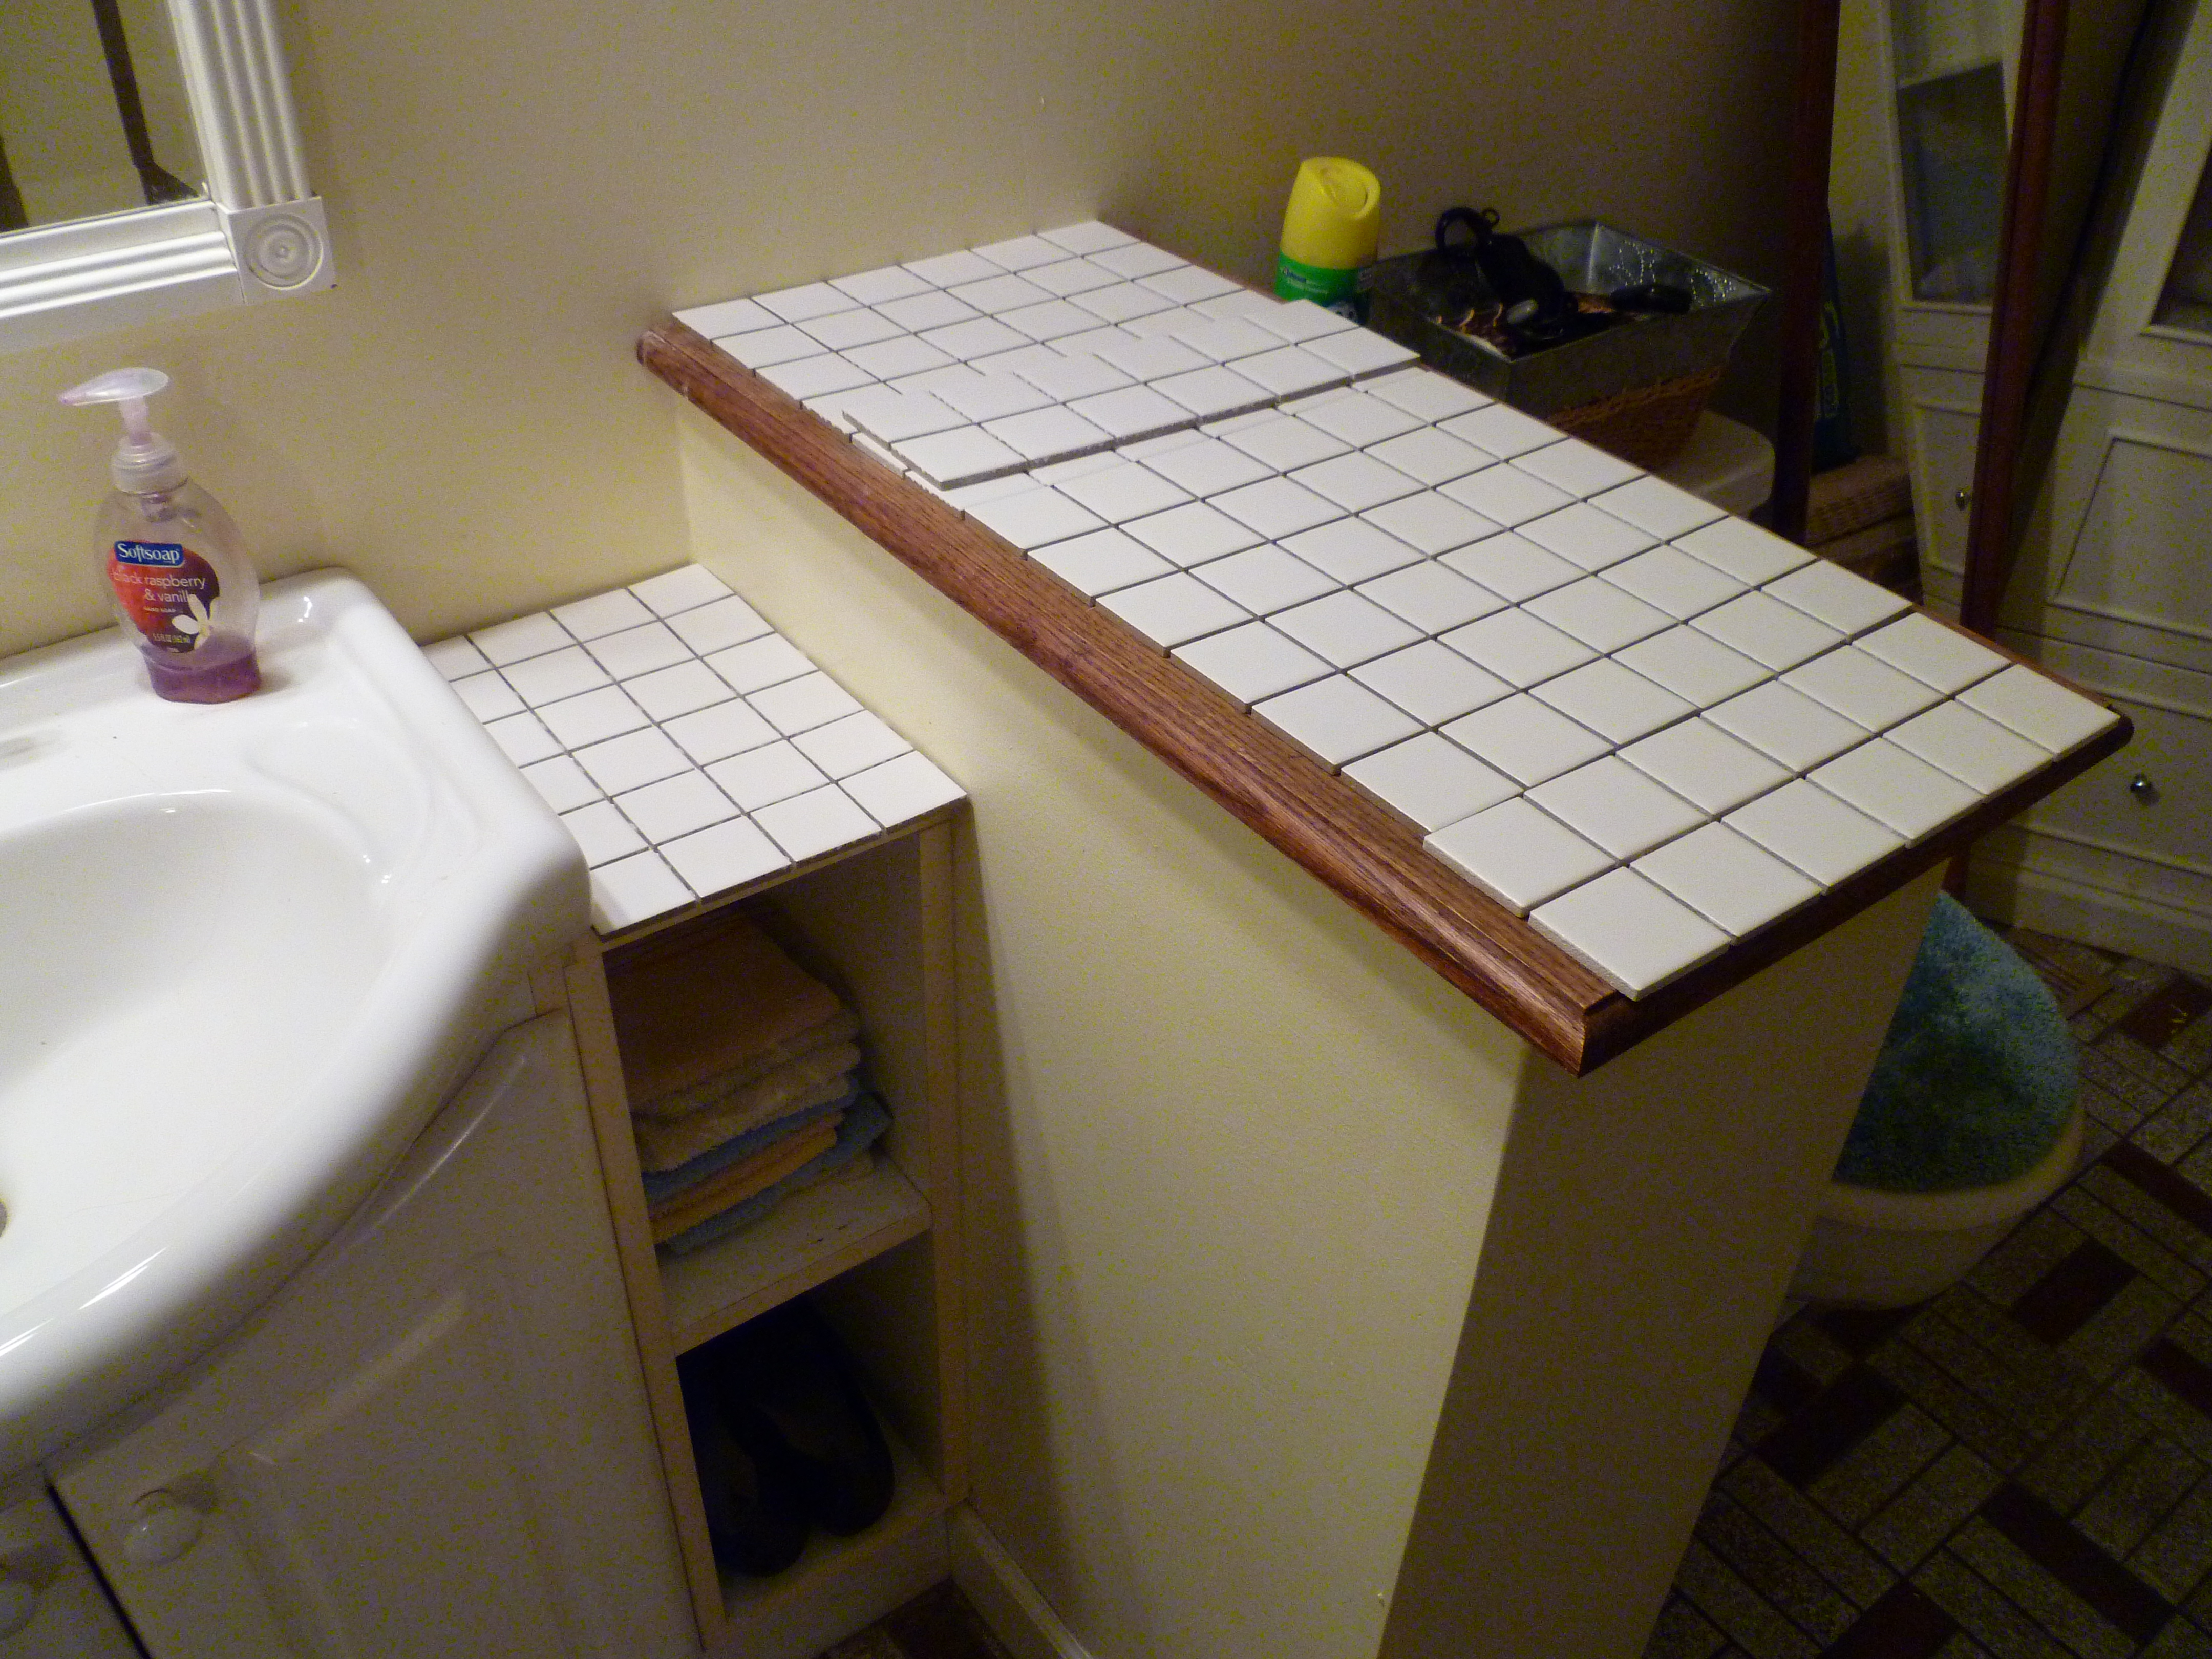
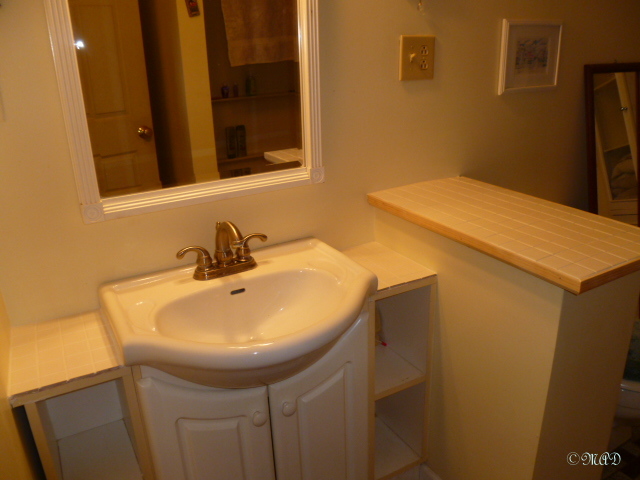
I’ve taken a little break here through the holidays, but thought I should keep in touch. I started a little project in my downstairs bathroom and finally finished it this morning. My upstairs bathroom is quite old and beautiful – it has the original pedestal sink & toilet and beautiful little tiles on the floor, but the upstairs is not heated, so I don’t venture up there unless I need something in storage up there. I decided to tile the little areas around the sink with 2″ white tiles. The surface that was there was piece-meal and didn’t look very polished, so when I was at the hardware store, I noticed they had 12″ x 12″ sheets for $1.79. Can’t beat that price! I absolutely loved doing this little project – it was easy peasy and hope to do some more soon. Would love to tile my kitchen floor!

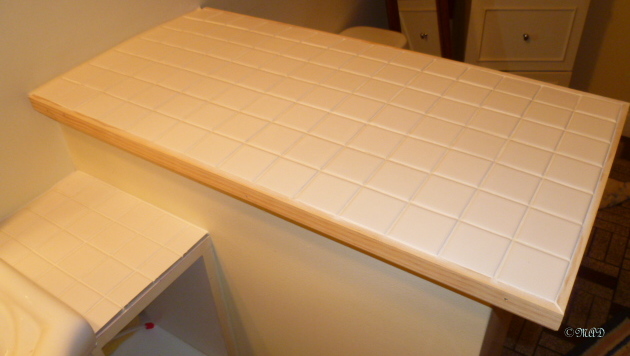

Here in Turkey, water resistant adhesives that bond tile to wood are stupendously expensive, so what I used was simple bathroom silicon (you know the standard cheap 310mm cartridges you use around the bath etc) – worked a treat by the way. Just applied to each tile and plonked them in place usıng 3mm spacers (taking care not to have any silicon in the grout lanes), then just left for 2 days and grouted as normal. This was on an outside balcony applying 10cm square tiles to 15mm OSB roofing board.
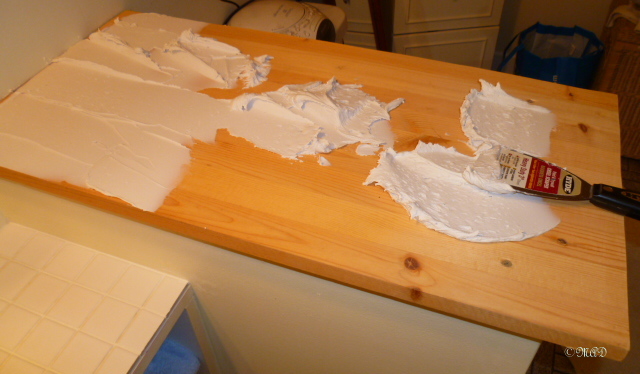
What a great idea! I wondered about the adhesive I used, even though on the side of the tub it says it’s for kitchen and bathroom floors as well as walls, because I had one little tile pop off when I was putting the trim on and the adhesive was pliable, which surprised me.
The problem is not with the tile, but the wood surface. For starters it can absorb the moisture out of the cement without it bonding. I tried it and initially and it worked fine – next day when the cement was almost dry, the entire lot came off. The cement was stuck to the tiles, but the wood was practically clean.
I’ve used the silicon method even on shiny vertical melamine boarding (plastic covered MDF that most furniture is made of nowadays) – tiles still solid after 4 years.
I’ll have to remember this, I want to tile my kitchen counter, but not remove the formica countertop (I hear you can sand it and it works fine).
For that there is no problem. You dont even need to sand it down. Just get some silicon or epoxy based tile cement for shiny surfaces. It is usually sold in premixed tubs and is really stick stuff (ultra-flexible), but works a treat. I used it last winter in my brother-in-laws kitchen which I refitted top to bottom. There were really old (c.1960) wall tiles which were shiny white gloss but no way on earth they would come off. I used this – so easy.
Cool, now I’ve really got to try this, thanks for the tips!
No worries… anything’s possible 🙂
Great job – congratulations!
Thanks Kim & Happy Holidays to you & yours!
Same to you Annie!
Thanks!